As a matter of practice and procedure... it is a good idea to begin the "design" process by creating needed Overlays.
| • | Think about the overall picture and what is being accomplished. For example, if you have a multi-page document then you'll, most generally, want to create an overlay (template) for each page. |
| • | Furthermore, it is a good practice to create a generic (or blank) overlay in order that an undesirable overlay isn't applied to a form / page that is not defined to a "specific" overlay. |

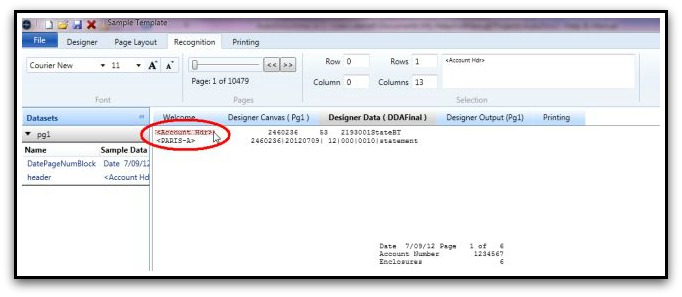
click for larger image
How do I create an overlay(s)?
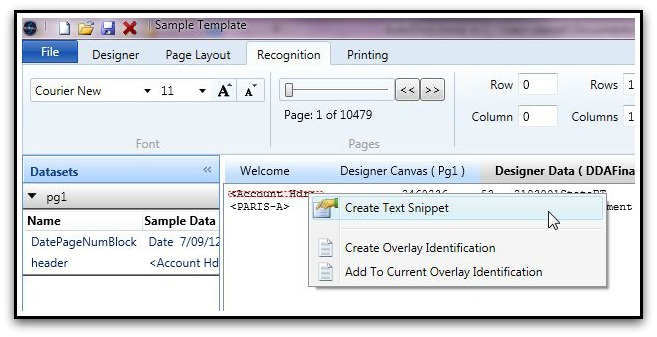
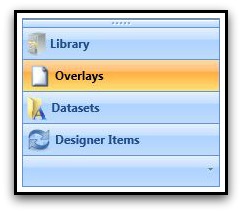
| 1. | Select Overlays from the lower-left menu in the AutoDocs™ interface. |
| 2. | Right-click on the Project Name in the top-left of the AutoDocs™ interface. |
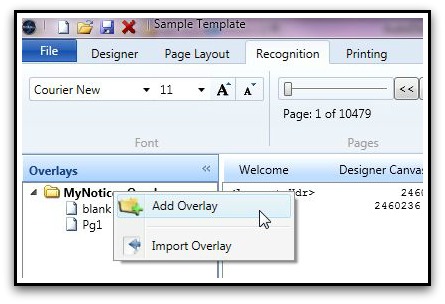
| 3. | Define an Overlay Name, Overlay Size, and define the page types / conditions this particular Overlay will be applied to. |
| o | Since this particular Overlay will apply to the very first page of each document in the set ...we'll name it Pg1 and select First Page as the document page to apply to. |
| o | When you click OK you'll see the named Overlay appear within the left-side Overlays menu. |

click for larger image
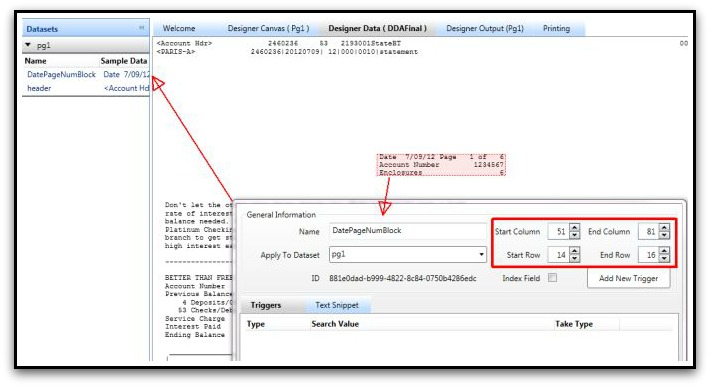
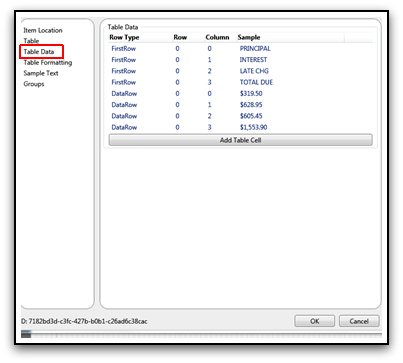
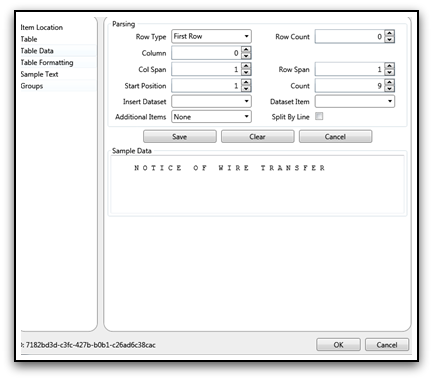
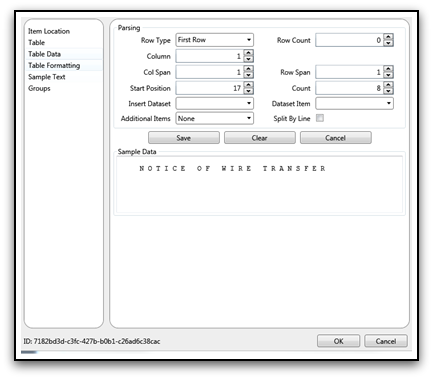
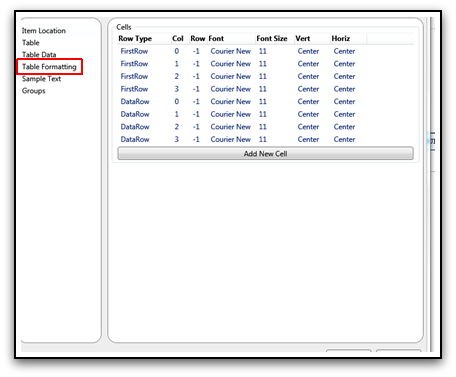
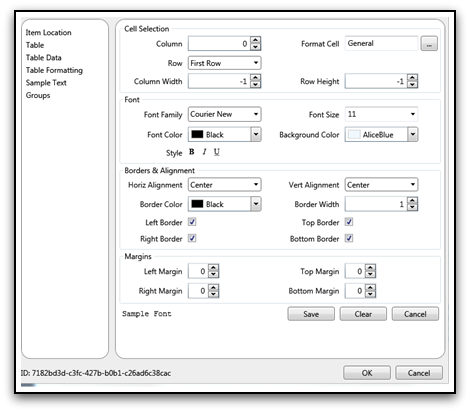
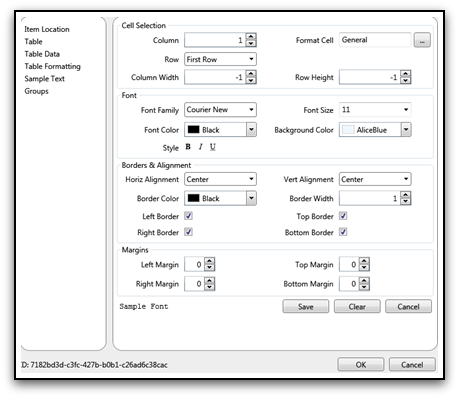
| 4. | Overlay Identification defines the particular criteria by which the "elements" on an overlay are selected / identified. |
| o | AutoDocs™ is very straight-forward in its methodology of "gathering" data from files. It uses a standard Line, Column, Length methodology to "pick up" data. |
| ▪ | NOTE: AutoDocs™ is zero-based in these methods. When making those determinations ...always start counting at 0 (zero). |

click for larger image
|