Site Administration

Contents
SHORTCUTS TO SECTIONS IN THIS PAGE:
Site Administration can have four categories: User Administration, Institution Administration, Account Administration, &
Document Proofing. These options can vary depending on user settings and institution settings.
Within the User Administration category you can manage users and groups. The User Administration category is very
robust. User Administration give an administrator with the credentials the power to change users password, make them
an administrator, assign accounts, delete accounts, delete users (logins), deactivate accounts, change alerts, and more.
As you can imagine this section demands more awareness of the admin user because the changes can be significant.
|
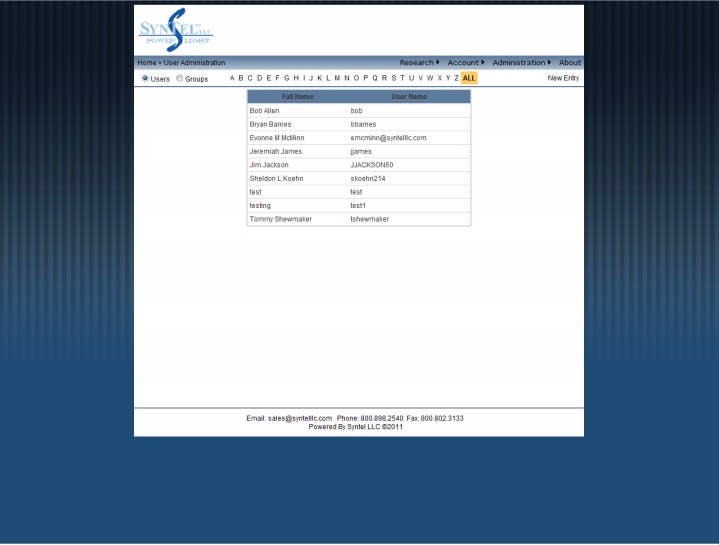
As you enter the User Administration screen you are presented with options of working with Users or Groups (radio
buttons in top left of screen). An alphabetical list is provided to narrow your search. New Entry (Top Right) gives the
administrator the option to add a user.
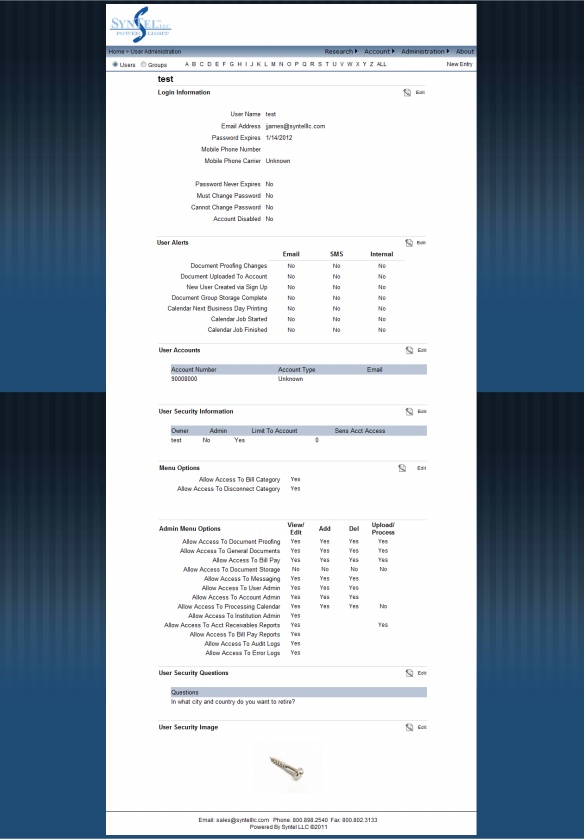
Once you find a user you can single click the entry and a summary of the user is displayed. To edit you must click Edit
next to one of the section headings.
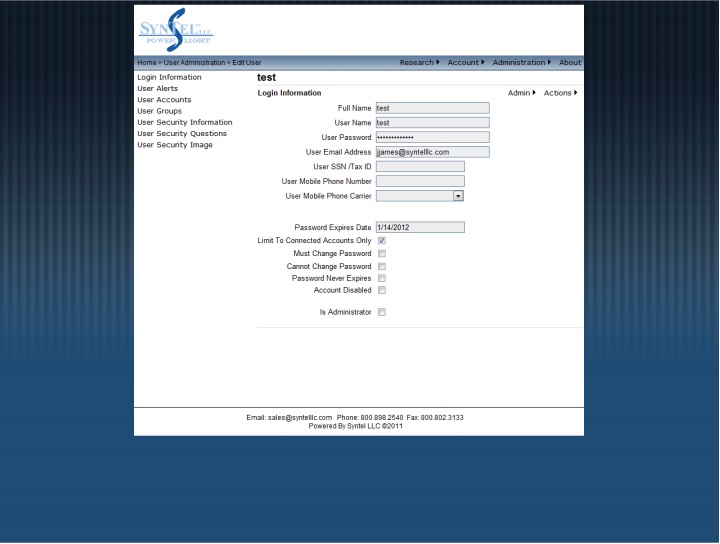
When editing user login information you want to be very careful. The login information screen allows you to change the
users name, user password, email, SSN/TIN, Mobile Phone, Phone Carrier, when password expires, forcing a
password change next time the user logs in, Not allowing the user to change their password, Password never expires,
Disabling the account, and setting the user to be an administrator of the site.
From this screen you can “Reset user Secondary Security” by going to Admin (Top Right) > Reset User Secondary
Security. Secondary Security is the question and image information the user must provide after a successful username
and password login.
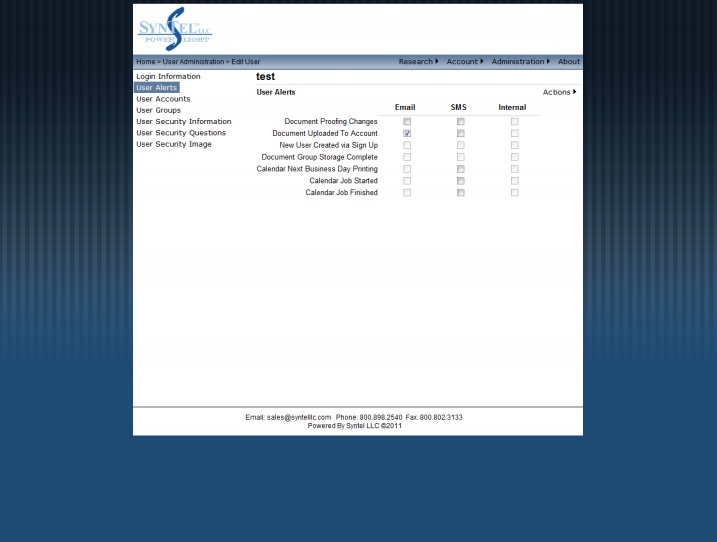
User Alerts will notify the customer that a document is ready to be reviewed. The user can change this if they log in.
Different notifications are available for admins and users. The options are Email, SMS (text message), and Internal.
Internal messaging and SMS messaging must be enabled under the Site Administration section > Institution
Administration > Institution Settings. Email must have a valid email address for the user under Login Information. An
email will be sent when the alert is triggered. SMS must have a valid cell phone number and carrier under Login
Information. A text message will be sent when the alert is triggered.
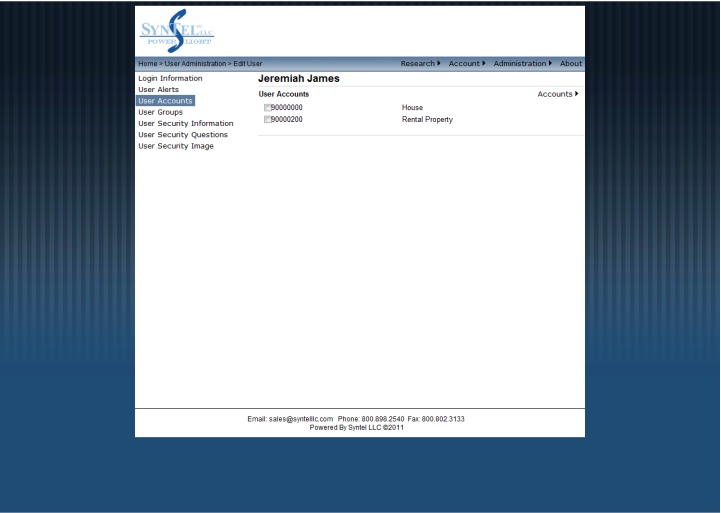
User Accounts shows the accounts associated with the login. To add more accounts go to Accounts (top right) > Add
Account in the dropdown. You can also edit accounts in the list below by selecting the check box next to the account
number and going to accounts > Edit Selected Account. An account MUST be set up on this screen before your user can
gain access to the site.
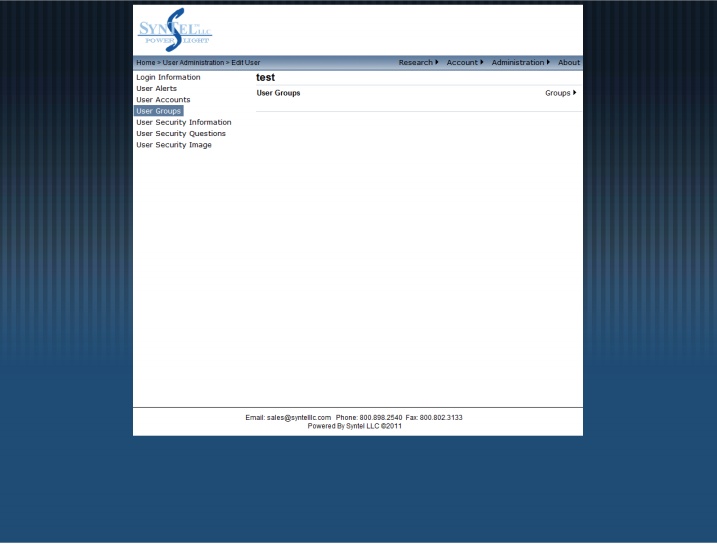
User Groups are a great way to manage a group of users without having to manage each user individually. Creating specific
groups (to create a group: in user administration select the group’s radio button and click the new entry link) allow you
to associate users to a group as they sign up. This helps if you have a lot of users that will be the same. To add groups to
a user move your mouse over Groups and select Add Group from the drop down.
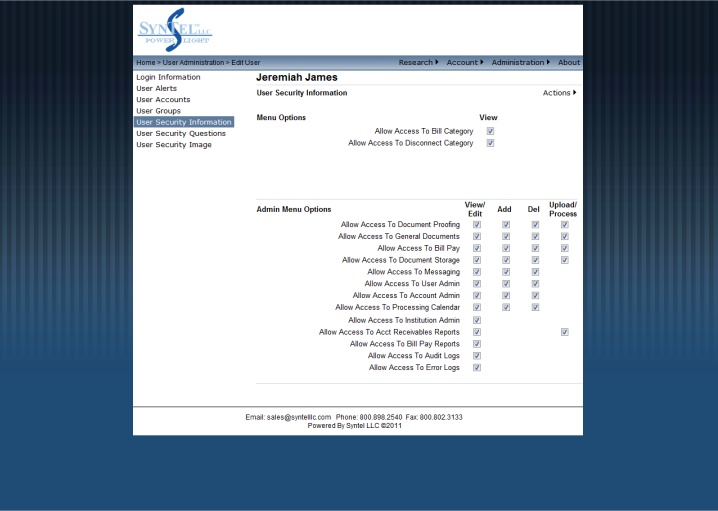
User Security Information grants the user or administrator access to areas. If an account is set to administrator you will
have a section Admin Menu Options. The Admin Menu Options allows you access to view/edit, add, delete, and upload
for sections.
The Menu Options (for admin and users) grants/restricts the user from accessing the document research categories.
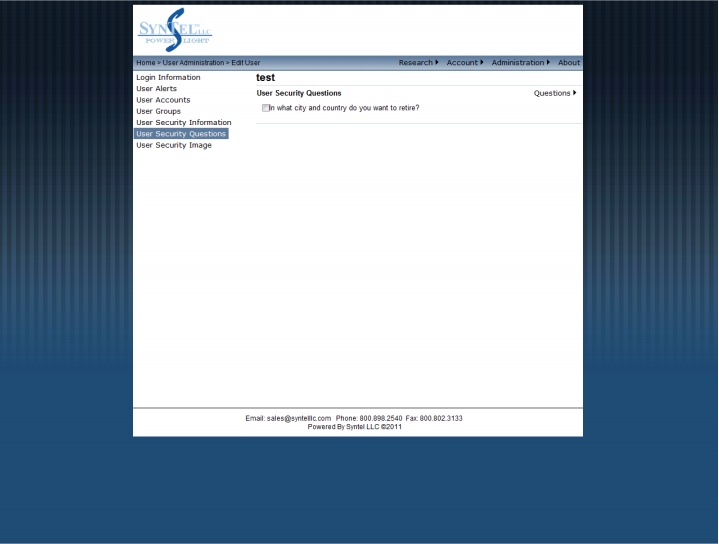
User Security Questions can be added or deleted for a user from Administration > Edit User > User Security Questions
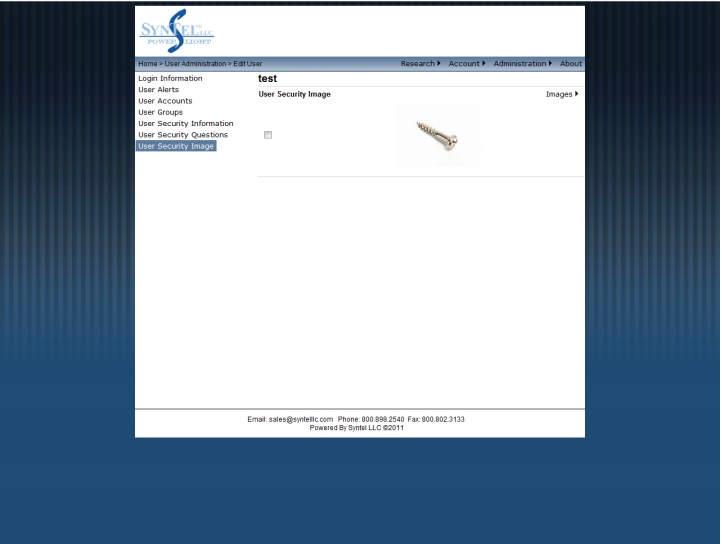
User Security Image can be changed for a user from User Administration > Edit User> User Security Image
Institution Administration holds all the settings specific to your business. You can change your business name, what
areas are accessible by administrators and users, Document Labels, Payment Options Settings, NACHA file Creation, FTP
Upload Information, and Security Settings.
This category affects every user for your site. Use caution when making changes to this area.
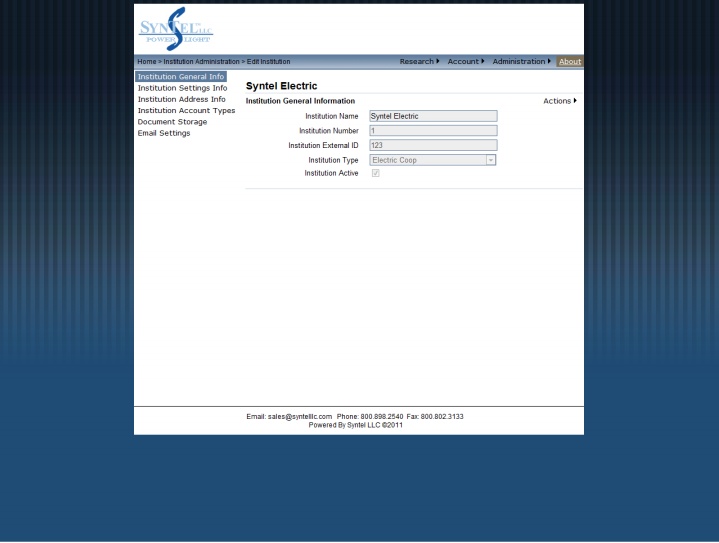
From General Information you can change your Institution name. The rest of the settings on this page cannot be change
without contacting SynTel, LLC
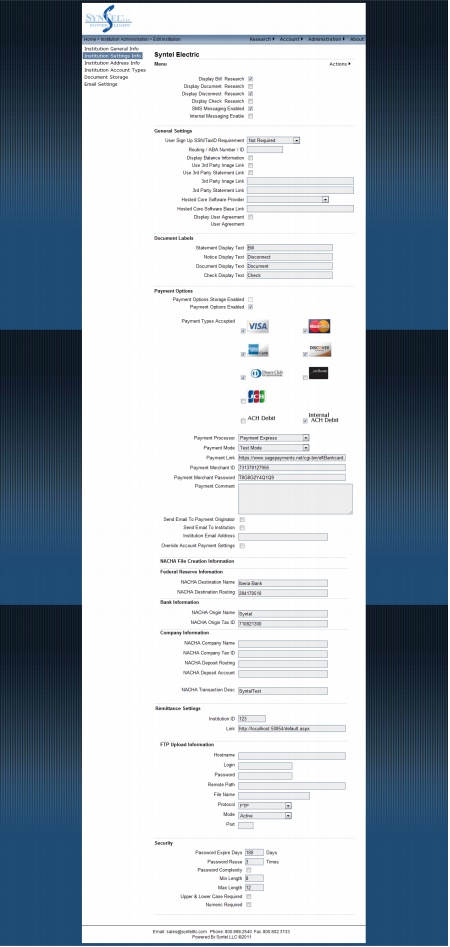
The Institution Settings Information screen is very robust and contains lots of settings. Most settings are not used. It is
advised to work with SynTel, LLC when making changes to this screen.
Under the menu section you can enable access to different document research categories and enable SMS Messaging
and Internal Messaging. Once you have enabled them here you must also enable under the user (if they wish to receive
SMS or internal messages) to take affect for the user.
General Settings section contains a lot of settings. The most used are User sign up requirements and user agreements.
▪User Sign Up Message: A new feature has been added within 'General Settings'. Now an administrator has the ability to modify the initial message your customers receive as they sign up for an eDelivery account. Play the video below to see how simple this is to modify.

Modify User Sign Up Message
Document Labels section allows you to rename the labels throughout the site to match your terminology.
Payment Options, NACHA File Creation Information, Federal Reserve Information, Bank Information, Company
Information, Remittance settings, FTP Upload Information should be set up by a SynTel, LLC representative.
Security section (very bottom of the screen) allows you to modify your password strength.
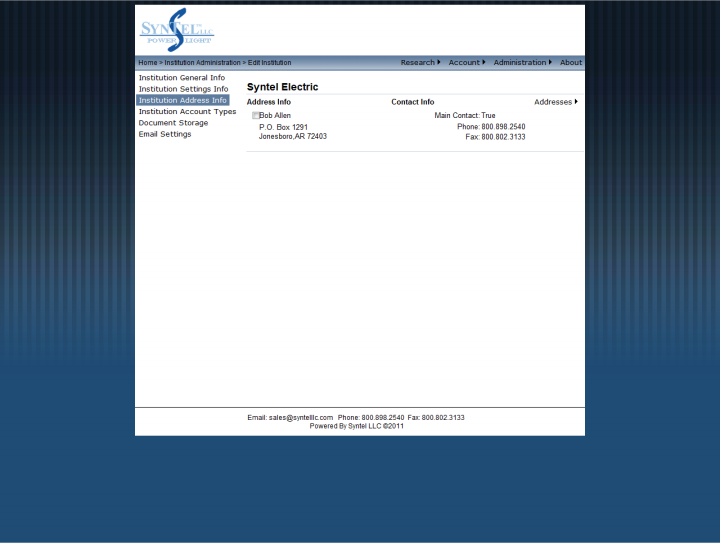
Institution Address Info contains your institution Address Information. You can change this by selecting the check box
next to the address, moving your mouse over Addresses (top right), and clicking Edit Selected Addresses
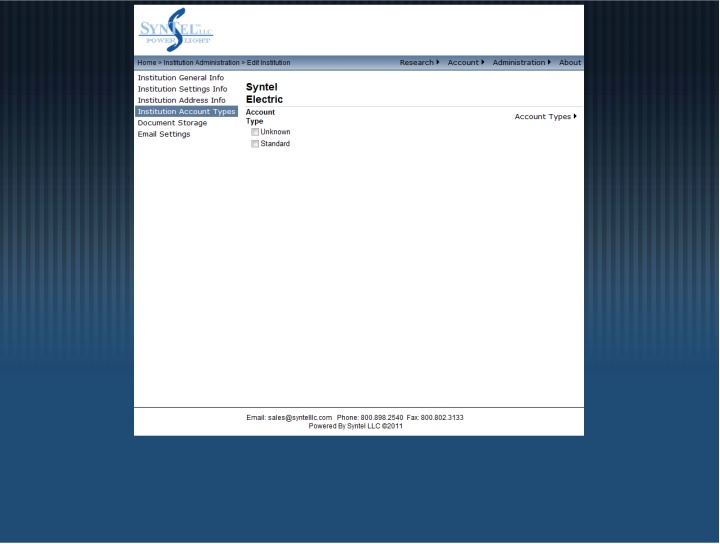
Institution Account Types allows you to Add, Edit, and Delete account types within your organization. Having account types
improves search results within document research. To add an account type: move your mouse over Account Types and
select Add Account Type from the drop down menu. To edit or delete an account: select the check box next to the
existing accounts, move your mouse over Account types (top right), and select the action of your choice.
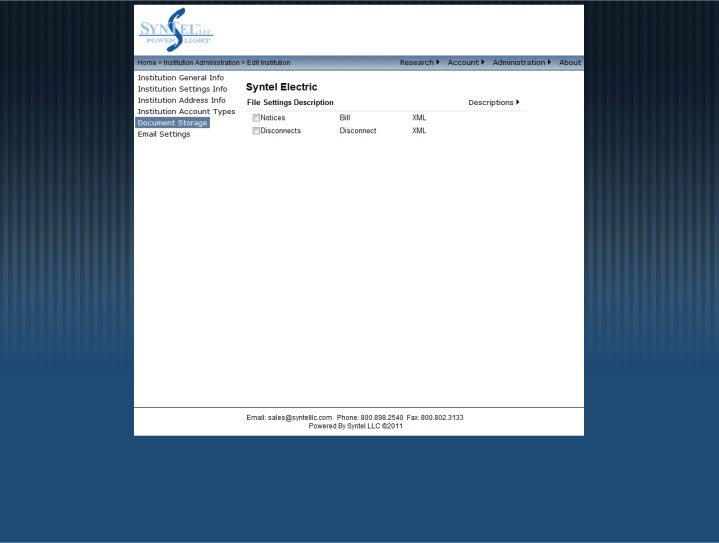
Document Storage is the setting for the index file that corresponds to your PDF documents your customers view. This
index file will give critical research information to the system. It is highly recommended that you contact SynTel, LLC
when working with this section.
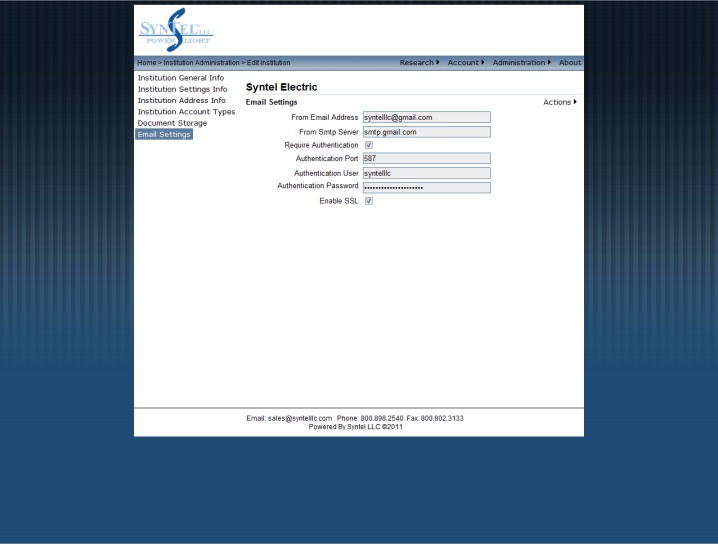
Email Settings are used to communicate to your users from your designated email address.
Account Administration gives you the ability to research accounts and add new accounts. You can change information
related to the account. Don’t confuse this with users. Accounts are associated with users.

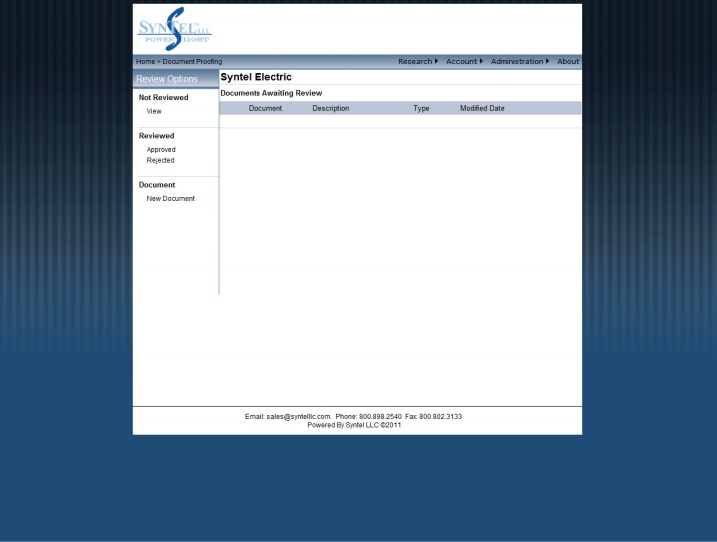
Document proofing is used in the case where you have SynTel, LLC design a marketing piece or print and mail
documents for your institution. This section allows you to review a document (proof) and approve before going in to
production. If your document (proof) is not suitable you can reject the document and add notes.
This is also a tool you will find useful if you are seeking approval of a document before producing.